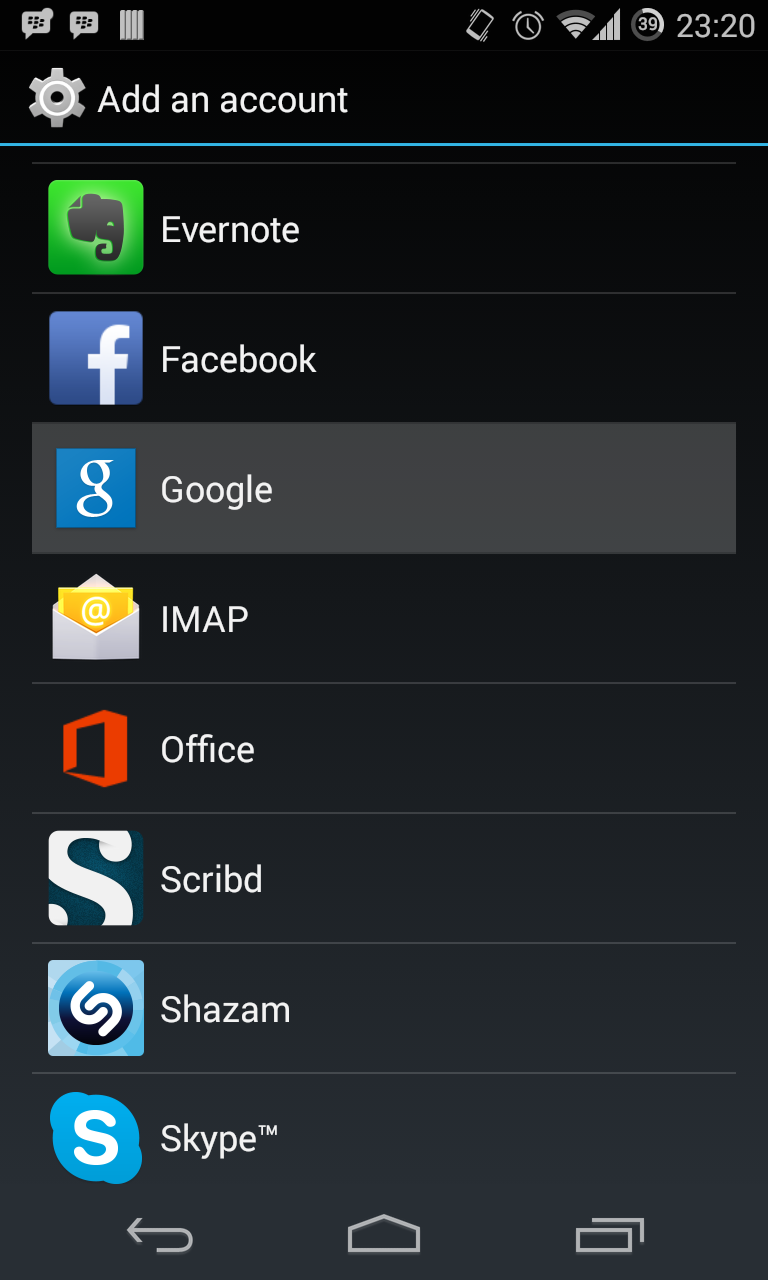
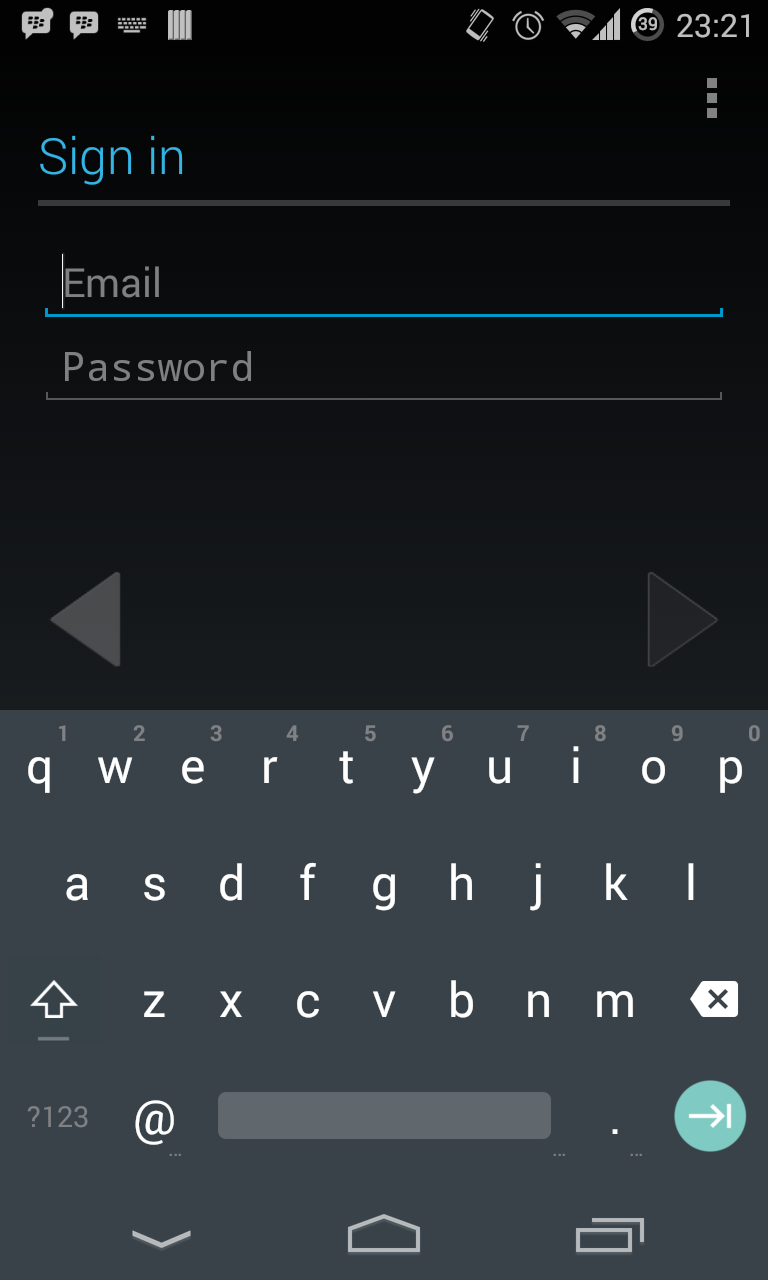
Nexus 4 Android 5.0 Lollipop
It's here! After all the waiting Google just released Nexus 4 Android 5.0 Lollipop Factory image. Download link is mentioned below :
Download Nexus 4 Android 5.0 Lollipop factory Image (471.37 MB)
File name: occam-lrx21t-factory-51cee750.tar
Fastboot and ADB files (919 KB)
File name: adb_and_fastboot_files.zip
File name: occam-lrx21t-factory-51cee750.tar
File name: adb_and_fastboot_files.zip
Note: Installing the factory image will wipe everything on your phone, so make sure you backup any important file (music, videos, documents, etc.) before installing the factory image.
INSTALLATION INSTRUCTIONS :
WARNING: Warranty may be void of your device if you follow the procedures given on this page. You only are responsible for your device. We won’t be liable if any damage occurs to your device and/or its components.
Note: Installing the factory image will wipe everything on your phone, so make sure you backup any important file (music, videos, documents, etc.) before installing the factory image.
- This installation is only for Nexus 4, So don't even think about installing this in any other device than Nexus 4.
- Unlock the bootloader on your Nexus 4!
- Extract/Untar the occam-lrx21t-factory-51cee750.tar file on your computer (using 7-zip software, recomended).You’ll get the following file: occam-lrx21t-factory-51cee750
- Extract the occam-lrx21t-factory-51cee750 file as well, you’ll get a few files:
- A radio and bootloader image
- flash-all.bat
- flash-all.sh
- flash-base.sh
- image-hammerhead-lrx21o.zip
- Now extract/unzip the adb_and_fastboot_files.zip file on your computer and copy/paste all the extracted content (files and folders) to the folder where you extracted the files in Step 2.
- Make sure all the extracted files and folders from adb_and_fastboot_files.zip are in the folder where your files are in Step 2.
- Now it's time to Boot your Nexus 4 into Bootloader/Fastboot Mode:
- Power off your Nexus 4
- Press and Hold “Volume Down + Power” button for a couple of seconds. You’ll boot into bootloader mode.
- Connect your Nexus 4 to PC.
- Run the flash-all.bat file from the files you extracted in Step 2.
- The factory image will now install on your Nexus 4, sit back and let the process complete.
- Once the factory image is installed, your Nexus 4 will automatically reboot. This will be your phones first boot on Android 5.0 Lollipop so don’t worry if it takes time.
Now Enjoy ur Lollipop ;)


